How To Configure Audio Input and Output Devices in After Effects?

After Effects empowers you to craft stunning visuals, but sound plays a crucial role in elevating your projects. Whether it's a heart-pounding film score or a clear narration, ensuring the proper audio routing is essential. This article equips you with the knowledge to configure audio input and output devices in After Effects, guaranteeing a seamless audio experience within your workflow.
Understanding Audio Routing
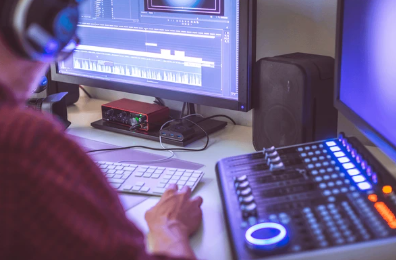
Audio routing defines the path your audio takes within After Effects. It involves specifying which devices are used for recording audio (input) and playback (output). Common examples of audio devices include:
- Microphones: For recording voiceovers or sound effects.
- Audio Interface: An external device that connects microphones, instruments, and other audio sources to your computer.
- Computer Speakers: Built-in speakers on your computer for audio playback.
- Headphones: For private monitoring or mixing in a studio environment.
Configuring Audio Devices in After Effects
Here's a step-by-step guide on configuring audio devices in After Effects:
1. Accessing Preferences:
- Windows: Go to Edit > Preferences (Windows).
- Mac: Navigate to After Effects > Preferences (Mac).
2. Audio Tab: Within the Preferences window, locate the "Audio" tab.
3. Device Selection: Under the "Audio Input" and "Audio Output" sections, you'll find dropdown menus displaying available audio devices on your system.
- Input: Select the microphone or audio interface you want to use for recording audio within After Effects.
- Output: Choose the desired device for playback, such as your computer speakers or headphones.
4. Additional Options (Optional):
- Sample Rate: This setting determines the audio quality. Higher sample rates offer better fidelity but require more processing power. The default setting (usually 44.1 kHz) is often sufficient for most projects.
- Bit Depth: Similar to sample rate, this setting affects audio quality. 16-bit is standard for CDs and most video projects, while 24-bit might be preferred for professional audio production.
5. Confirmation: Click "OK" to confirm the changes and apply the selected audio devices and settings to your After Effects project.
Testing Your Configuration:
Once you've configured your audio devices, it's crucial to test them to ensure they work as expected:
- Play Audio: Open a project containing audio or import an audio file. Play back the audio to verify it's routed through the chosen output device.
- Record Audio (Optional): If you intend to record audio within After Effects, consider creating a short test recording using the selected input device. Listen back to the recording to confirm proper functionality.
Additional Considerations and Tips:
- Default Audio Devices: After Effects remembers your last-used audio settings for future projects. However, you can always revisit the preferences to adjust them as needed.
- Multiple Audio Devices: If your system has multiple audio outputs (e.g., speakers and headphones), consider using keyboard shortcuts for quick switching between playback devices.
- External Audio Interface (Optional): For professional audio workflows, consider using an external audio interface for improved audio quality and additional recording functionalities.
Conclusion
By mastering the configuration of audio input and output devices in After Effects, you gain control over your audio routing. This ensures accurate recording and playback within your projects, allowing you to craft stunning visuals accompanied by a seamless audio experience. So, configure your audio settings with confidence, and let the sound complete the story you're telling!